Optimized Introduction (Focus Keyword at the start)
How to Build Your Own PC 2025 — Step-by-Step Guide
Building your own PC in 2025 gives you customizable performance, upgradeability, and cost savings compared to pre-built systems. This guide will teach you how to build your own PC 2025 for gaming, productivity, AI/ML workloads, or content creation, covering:
Choosing the right components
Tools needed for assembly
Step-by-step assembly instructions
BIOS setup & OS installation
Performance optimization and maintenance
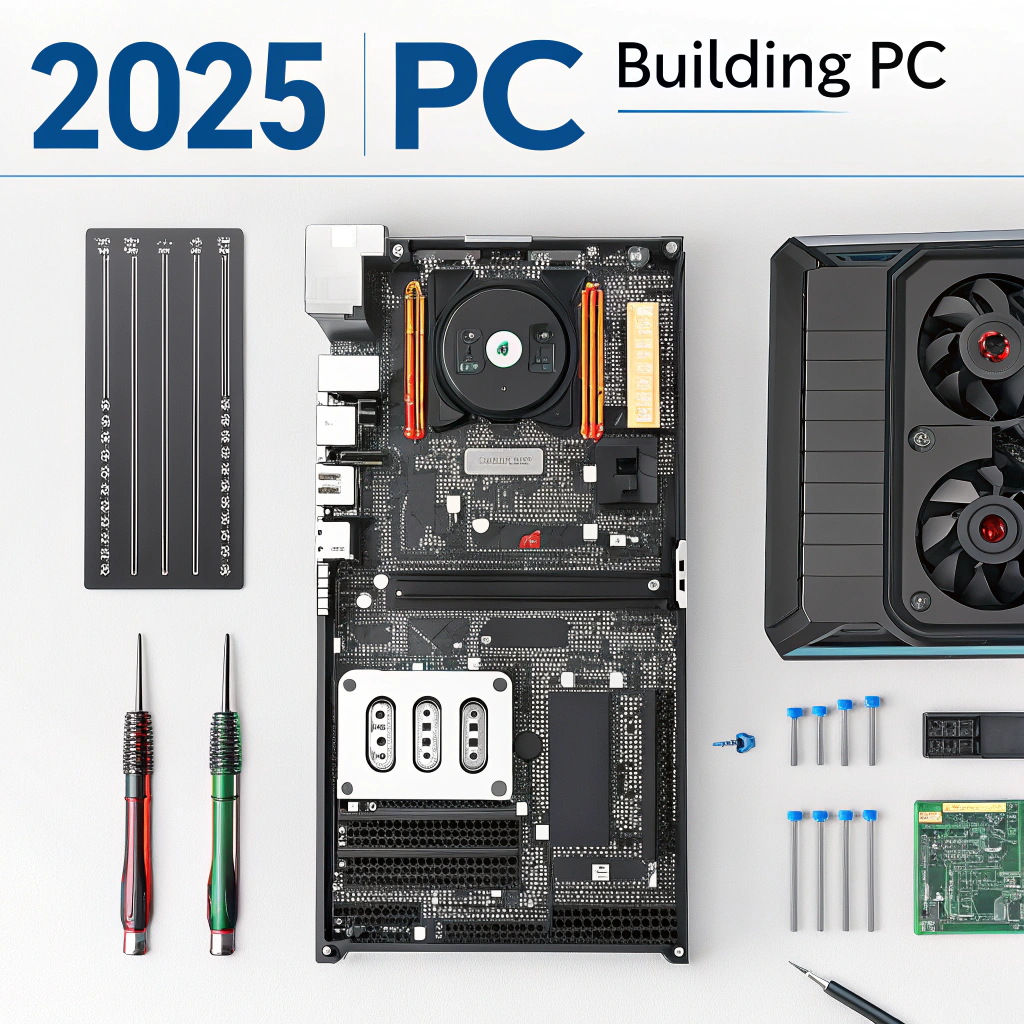
1. Components You’ll Need
| Component | Recommended Options 2025 | Notes |
| CPU | Intel i7/i9 13th Gen, AMD Ryzen 7/9 | High-performance or budget-friendly options available |
| GPU | NVIDIA RTX 4060–4090, AMD RX 7900 XT | Select based on gaming or AI/ML workloads |
| Motherboard | Intel Z790, AMD X670 | Check CPU socket compatibility |
| RAM | 16–64GB DDR5 | Dual-channel recommended |
| Storage | 512GB–2TB NVMe SSD + optional HDD | SSD for OS & programs, HDD for storage |
| PSU | 650–1000W 80+ Gold | Ensure wattage for GPU + CPU |
| Case | Mid-tower or Full-tower | Good airflow & cable management |
| Cooling | Air cooler or AIO liquid cooler | Depends on CPU & overclocking |
| Peripherals | Monitor, keyboard, mouse, headset | Optional but essential for setup |
Pro Tip: Double-check compatibility using PCPartPicker or similar tools.
2. PC Build Options for Every Budget
| Build Type | CPU | GPU | RAM | Storage | Price | Use Case |
| Budget Build | Ryzen 5 7600 | RTX 3060 | 16GB | 1TB SSD | $1,200 | Gaming at 1080p, student projects |
| Mid-Range | Intel i7 13700K | RTX 4070 | 32GB | 1TB SSD + 2TB HDD | $2,000 | 1440p gaming, content creation |
| High-End | Intel i9 13900K | RTX 4080 | 64GB | 2TB NVMe + 4TB HDD | $3,500+ | 4K gaming, AI/ML, streaming |
3. Tools Required
Phillips screwdriver
Anti-static wrist strap
Thermal paste (if CPU cooler doesn’t include)
Cable ties & scissors
Flashlight (optional for tight spaces)
Pro Tip: Organize components on a clean, flat surface to prevent static damage.
4. Step-by-Step Assembly Instructions
Step 1: Prepare the Case
Remove side panels
Install standoffs for the motherboard
Plan cable routing
Step 2: Install CPU
Open motherboard CPU socket
Align CPU with socket (triangle marking)
Secure CPU carefully
Step 3: Install RAM
Open DIMM slots
Insert RAM sticks until they click
Use dual-channel slots for best performance
Step 4: Install Motherboard
Place motherboard on standoffs
Secure with screws
Ensure alignment with I/O shield
Step 5: Install GPU
Insert GPU into PCIe x16 slot
Secure with screws
Connect power cables from PSU
Step 6: Storage Installation
Mount SSD in M.2 slot or 2.5″ bay
Connect HDD if available
Step 7: Connect PSU & Cables
24-pin motherboard power
8-pin CPU power
GPU power cables
SATA power for drives
Front panel connectors (USB, power, reset)
Step 8: Install Cooling System
Air cooler: Mount on CPU, attach fan
AIO liquid cooler: Install radiator, connect pump
Apply thermal paste if needed
Step 9: Cable Management
Use cable ties
Route cables behind motherboard tray
Keep airflow unobstructed
5. BIOS Setup & OS Installation
Power on PC → Enter BIOS (Del/F2 key)
Enable XMP for RAM speed
Set boot drive (SSD)
Install OS (Windows 11, Linux, or dual-boot)
Install drivers: GPU, motherboard chipset, audio
Pro Tip: Keep BIOS updated for best performance and hardware compatibility.
6. Performance Optimization Tips
Update GPU drivers regularly
Use SSD optimization tools
Monitor temperatures with HWMonitor or MSI Afterburner
Overclock CPU/GPU carefully (optional)
7. Troubleshooting Common Issues
| Problem | Solution |
| PC won’t boot | Check PSU cables, reseat RAM & GPU |
| No display | Check GPU connection, monitor input, BIOS settings |
| Overheating | Reapply thermal paste, clean fans, improve airflow |
| Random shutdowns | Check PSU wattage, temperatures, RAM errors |
8. Maintenance & Upgrades
Dust case monthly
Upgrade RAM or storage as needed
Monitor thermal paste every 2–3 years
Add additional cooling if overclocking
9. Recommended Accessories for PC Builders
High-refresh monitors (144Hz–240Hz)
Mechanical keyboard & gaming mouse
Headsets with surround sound
UPS or surge protector for power safety
10. Conclusion
Building your own PC in 2025 is rewarding, customizable, and cost-effective.
Key Takeaways:
Choose compatible components for your needs and budget
Follow assembly instructions carefully
Optimize BIOS, drivers, and thermal management
Maintain and upgrade regularly for longevity
With the right guidance, anyone can build a powerful, future-proof PC that meets their gaming, productivity, or content creation needs.